Showing posts with label art tissue paper. Show all posts

Friday, November 2, 2018

Fall crafts for kids


Fall Fox Craft for Child Care Students


Supplies:
* Large Paper Plate
* Orange tissue paper
* White School Glue
* Scissors
* Orange/White construction paper
* One Large Brown Pom Pom
* Stapler

Directions:
  • Trim down your paper plate so it looks like a triangle/fox’s face.
  • Cut the orange tissue paper into 2×2 squares.
  • Slather glue over the paper plate
  • Have your students place the orange tissue paper on their plate.
While your students are covering their paper plate with tissue paper :
  • cut out two triangles out of the orange construction paper  and two circles out of the white. This will be the fox’s ears & eyes.
Finally:
  • Have your students glue the eyes on and then you can staple the ears to the paper plate.
  • Then add the brown pom pom where the nose would be and you have a fox!

Did you try this craft? We would love to see your students creativity! Share your picture with us on our facebook page at: https://www.facebook.com/PureFUN-Daycare-Supplies-Superstore-142153462482252/


The Bery Brown Bear


Supplies:


a stapler


shaving cream

a paint brush

a plastic fork

scraps of construction paper

scissors

a glue stick

Directions:

Start by mixing up your paint:

"Puffy Paint" recipe:  Mix equal parts white school glue and shaving cream.  For this craft you will add brown paint to make a brown bear.

Next, prepare your bear's face:

Cut two small circles out of one paper plate and staple them to the top of another paper plate to be the bear's ears.  The staples will be covered up by the paint.

Now, time to paint him up!   Make the paint nice and thick.  Glob it on. It may take some time to dry, so have your students begin to make the other parts of the bear.

Cut out 2 pink circles to go in his ears, 2 black circles for eyes, a brown snout shape, and a black oval for his nose. 

Use a glue stick to attach them. 

Finally draw a mouth for your Berry Brown Bear.

A perfect pairing for your craft is to read Brown Bear Brown Bear by Bill Martin Jr & Eric Carle during your story time!

Monday, October 15, 2018

DIY Halloween wreath for Kids


What you need:
– Paper plate or a cereal box
–Black paint
– Black,Purple,Green and Orange Tissue paper 
–Glue
– Orange construction paper
– Ribbon or String for hanging
-Wiggle Eyes

Creating the Spider:

1.      Using orange construction paper, have your child use both hands to make the hand prints on top of each other facing opposite ways to represent the spider like the one above.
2.       Once it dries you can add wiggle eyes.

Creating the Wreath Back Drop:
1.       Cut up your tissue paper into small squares
2.       Cut the middle out of your paper plate to create the wreath shape. If you use an old cereal box, round the corners and then cut out a hole in the middle.
3.       Start scrunching up the squares of tissue paper and apply with glue onto the paper plate wreath .

Finalizing your DIY Halloween Wreath:

1.       Once your hand print spider has dried, cut around each finger to give the appearance of the spider
2.       Ensure that the tissue paper has dried and then glue the spider on the top
3.       Finally when you’re done adding the spider to the wreath, tie a string or a cute ribbon around it so you can hang it on your child's door!

For more craft Ideas, be sure to check out our blog at purefunsupply.blogspot.com

Thursday, March 23, 2017

Stain Glass Cross


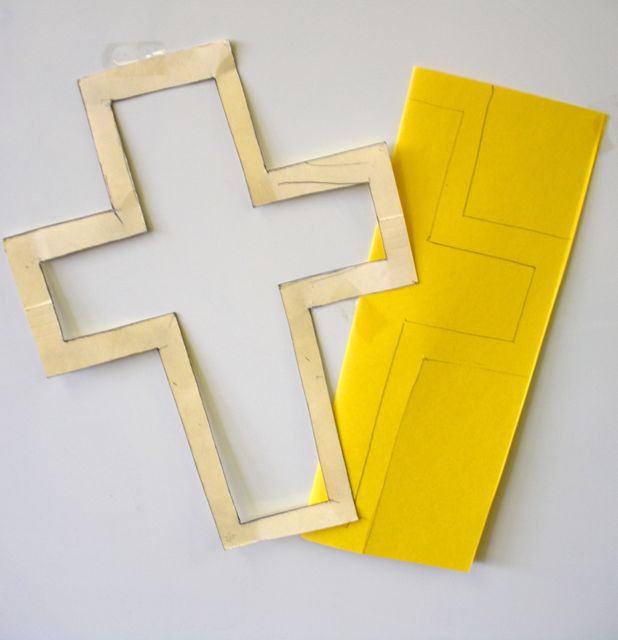
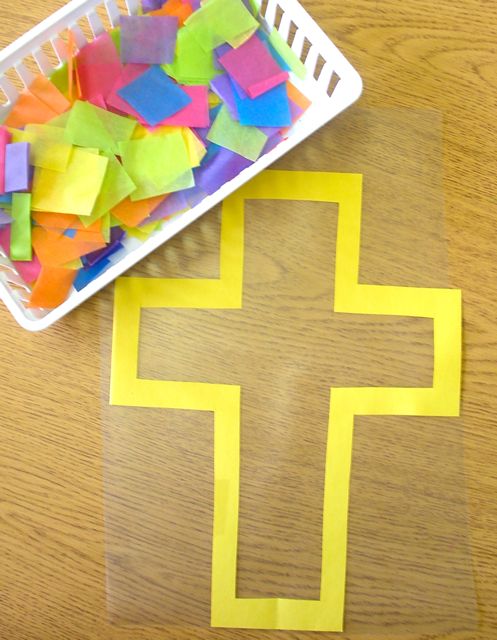
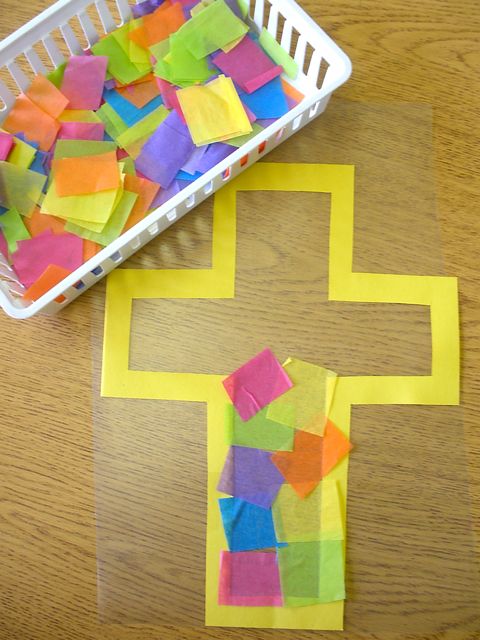
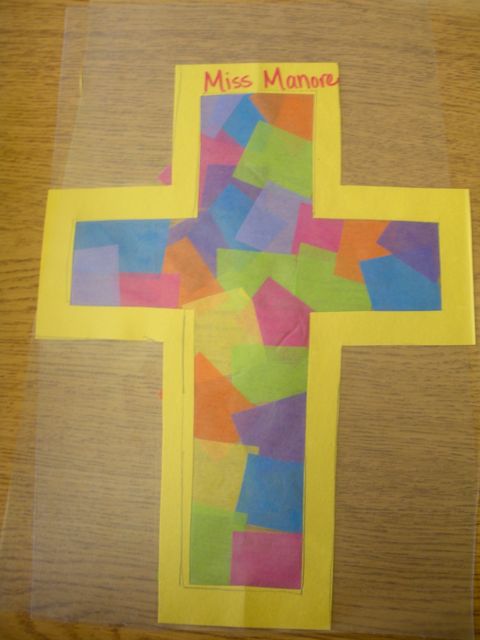
Tutorial for Stain Glass Cross Window DecorationTutorial for Stain Glass Cross Window Decoration

Tutorial for Stain Glass Cross Window DecorationTutorial for Stain Glass Cross Window Decoration


Items needed:


  • Old file folder (to create a cross template)

  • 1 sheet of construction paper in a bright color per student

  • 2 sheets of contact paper per student

  • Tissue paper squares in bright colors (1” to 2″ in size)

  • Scissors

  • Permanent marker


  1. Make a Template: use a file folder to create a cross template. Fold the folder in half, draw half of  a cross, cut out, leave a 3/4”wide border.

  2. Trace:  Folding the pieces of construction paper in half, Trace 1/2 the cross onto the paper. Make sure you are tracing along the fold so the cross will stay connected when it is cut out. You will need to keep the paper folded in half to cut out the cross.

  3. Frame: Peel the contact paper and place it sticky side up on the table. Center the cross on the contact paper for your students.
  4. Decorate: Let students fill in the cross with the tissue paper squares.
  5. Cover: Use the 2nd sheet of contact paper to seal the cross together. Place the new sheet of contact paper sticky side up, then flip the cross page onto it.

  6. Label: Use a sharpie to label the front side of the cross with the student’s name. (the back side has tissue paper overlapping the frame)
  7. Trim: Use scissors to cut excess contact paper from edges.


Enjoy your stain glass crosses!

Monday, October 8, 2012

Tissue Paper for Kids

Keep your children active in art class with tissue paper projects. You can choose from 20 different colors of paper and tissue paper is safe to use in any activity. Whether your kids are making custom envelopes or water lilies, Purefun has you covered with a wide variety of tissue papers to choose from.